
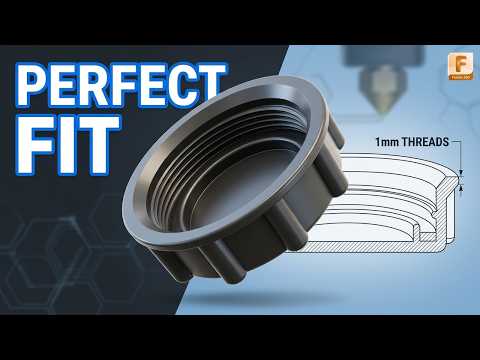
Have you ever lost the lid to a useful container or needed a custom-fit cap for a workshop storage jar? Instead of searching online for a replacement that might not fit correctly, you can easily design and print your own. By harnessing the power of Fusion 360 3D modeling, creating functional, real-world hardware becomes a simple and rewarding process.
In this guide, we will walk through the core steps of designing a 3D printable canister cap from scratch using basic parametric modeling techniques.
Step 1: Precise Measurements and Basic Sketching
Every successful 3D printing project begins with accurate measurements. Grab a digital caliper and measure the outer diameter of your canister’s neck, along with the depth of the rim.
Once you have your dimensions: 1. Open a new component and create a 2D sketch on the top plane. 2. Draw a center-diameter circle matching your canister's outer dimensions. Add a small tolerance (around 0.2mm to 0.4mm) to ensure the cap slides on smoothly without being too loose. 3. Extrude the circle upward to create the main body of the cap, then use the Shell tool to hollow out the inside.
Step 2: Adding Grips and Threads in Fusion 360 3D
One of the major benefits of working with Fusion 360 3D design tools is how effortlessly you can add functional and aesthetic details. A smooth plastic cap can be hard to twist, so adding knurling or ridges around the outside wall is essential.
To create an easy-to-grip texture: * Sketch a small triangular notch on the outer rim of the cap. * Use the Extrude tool to cut the notch down the length of the outer wall. * Apply a Circular Pattern to repeat this notch around the entire circumference.
If your canister uses screw threads, apply the built-in Thread tool to the inner cylinder wall. Make sure to check the "Modeled" box so the threads are sliced into the actual geometry for 3D printing.
Step 3: Exporting and Slicing Your Model
Once your cap design is complete, export the file as an STL or 3MF. Load the file into your preferred slicer program. For functional utility parts like canister caps, print with at least 3 wall perimeters and a 15–20% infill to ensure durability.
Start Creating Your Own Parts
Designing custom replacement components is one of the most practical uses for a desktop printer. Master the basics of Fusion 360 3D today, and start turning your practical everyday ideas into tangible prints!
