
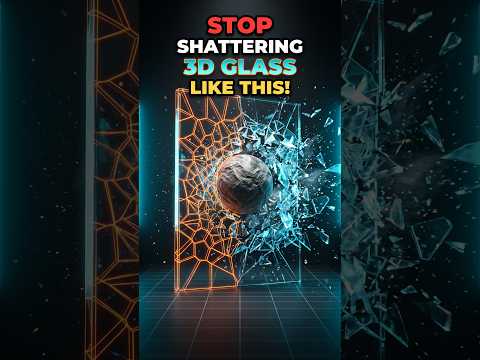
Have you ever tried to create a shattering glass effect, only to find that it looks more like falling blocks than actual shards? You aren’t alone. Achieving high-quality, believable destruction is one of the most sought-after skills in the world of CGI. When it comes to creating high-end visual effects, mastering Blender 3D requires moving beyond basic presets and understanding how materials actually break in the real world.
The Problem with Basic Shattering
Most beginners make the mistake of creating uniform pieces that lack the chaotic variety of real glass. Real glass doesn't just split into equal cubes; it splinters into jagged shards, tiny slivers, and larger chunks based on the point of impact. If your simulation looks "off," it’s likely because the fracture pattern is too predictable. To fix this, we need to leverage the right tools and physics settings.
Step 1: Harnessing the Power of Cell Fracture
The secret to realistic destruction lies in the Cell Fracture add-on. Before you start, ensure the add-on is enabled in your preferences. Once active, you can take your mesh and apply the fracture.
The key tip here is to use a "Particle System" or "Annotation Tool" to define where the impact happens. By concentrating the fracture points around the area where the object hits the glass, you create a much more realistic radial pattern. Within the Cell Fracture settings, increasing the "Noise" value is essential—it ensures that the edges of your shards are jagged and irregular rather than perfectly straight.
Step 2: Refining Physics with Rigid Bodies
Once your glass is fractured, you need to tell the software how those pieces should move. This is where the physics engine in Blender 3D shines. By assigning a Rigid Body to your shards, you can simulate gravity, friction, and collision.
Pro-Tip: Use the "Calculate Mass" function to ensure the shards have a realistic weight. Light glass shards should behave differently than heavy concrete chunks. Additionally, don't forget to set your "Collision Margin" to a very low number to avoid shards "exploding" outward the moment the animation starts.
Final Touches for Realism
To truly sell the effect, add a touch of "Slow Motion" by adjusting the scene's time scale, and ensure your glass material has a high transmissive value with a touch of roughness on the broken edges.
Elevate your Blender 3D projects today by moving away from generic shattering and embracing the precision of Cell Fracture. With these techniques, your destruction sequences will go from "amateur" to "cinematic" in no time!
