
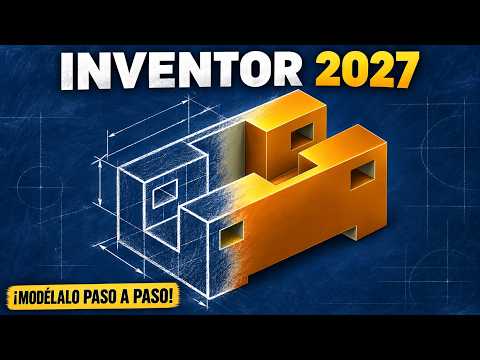
Additive manufacturing has revolutionized how we bring physical products to life, but every great print starts with a precise computer-aided design (CAD) model. If you are new to design software, learning Inventor 3D modeling is one of the most effective ways to master mechanical design and rapid prototyping. In this guide, we will explore the step-by-step process of creating a part from scratch in Autodesk Inventor 2027 and preparing it for seamless 3D printing.
Step 1: Interpreting Geometry and 2D Sketching
Before creating any solid geometry, you need to analyze the part's basic shape, symmetry, and key dimensions. Start by opening a new part file in Autodesk Inventor 2027 and selecting an appropriate work plane (such as the XY or XZ plane). Translate your blueprint or physical measurements into a clean 2D sketch using fundamental drawing tools like lines, circles, and arcs. Always apply geometric constraints and precise dimensional values to ensure your sketch is fully constrained, which prevents unwanted deformation as your model grows more complex.
Step 2: Transforming 2D Sketches into Solid Parts
Once your 2D sketch is fully defined, it is time to convert it into a solid object. The Extrude and Revolve tools allow you to add mass quickly, while cut operations enable you to create precise holes, slots, and complex internal cutouts. By taking advantage of Inventor 3D design features, you can easily apply fillets and chamfers to smooth sharp edges, reduce stress concentrations, or improve the visual appeal of your component. Building your parametric features logically ensures that any future modification takes only seconds to update.
Step 3: Exporting Your Model for 3D Printing
With your geometry complete, the final step is exporting the file for additive manufacturing. Navigate to the file export menu and select a universally recognized 3D printing format, such as STL or 3MF. Before saving, check your export resolution settings: choosing high refinement yields smoother curves on your physical print, whereas low refinement can result in visible faceting. Once exported, load the file into your preferred slicer software to generate the G-code for your 3D printer.
Final Thoughts
Developing proficiency in Inventor 3D design bridges the gap between digital concepts and real-world physical objects. By following a structured workflow—from sketch interpretation to final mesh export—you can reliably produce functional, high-quality models ready for 3D printing.
