Cad 3D Category

Showing posts with label tutorial. Show all posts

Master the SketchUp 3D Camera Toolbar: A Complete Beginner's Guide

Wednesday, November 4, 2026
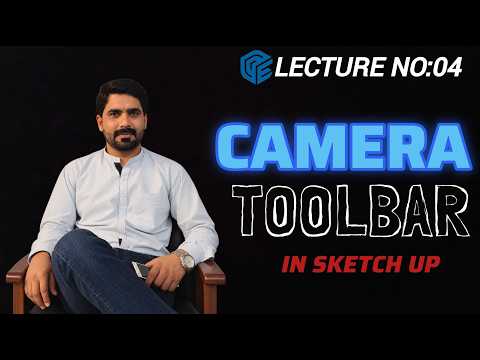
Navigating your workspace efficiently is one of the most critical skills to master when working in digital design. If you are just starting your journey with SketchUp 3D, getting comfortable with the Camera Toolbar is your first step toward effortless modeling and presentation.

In this guide, we will break down the fundamental camera tools every beginner needs to know to navigate their models like a pro.

Essential Tools in the Camera Toolbar

The Camera Toolbar provides direct control over your viewport. Understanding these primary tools will significantly improve your design speed:

  • Orbit Tool: Allows you to rotate your view around the model in any direction. This is essential for inspecting your work from different angles.
  • Pan Tool: Moves your screen horizontally or vertically without changing the view angle or zooming level.
  • Zoom Tool: Lets you move closer to or further away from your object, giving you precise control over detail work.
  • Zoom Window: Allows you to select a specific rectangular area on your canvas to magnify instantly.
  • Zoom Extents: A life-saving feature that instantly centers and fits your entire model within the viewport—perfect if you ever get lost in space!

Perspective vs. Walkthrough Views

Beyond basic viewport control, the Camera Toolbar features specialized controls designed to help you showcase your SketchUp 3D projects realistically.

  • Position Camera: Sets your view at a specific eye-level height, giving you a realistic human perspective of your interior or exterior spaces.
  • Look Around: Rotates the camera from a fixed point, simulating standing in place and looking around a room.
  • Walk Tool: Allows you to maneuver through your design as if you were walking inside it, which is ideal for client walkthroughs.

You can also easily switch between Perspective view (for realistic presentation) and Parallel Projection (for 2D blueprints and elevation drawings) via the Camera menu.

Quick Navigation Tips for Beginners

To maximize your efficiency in SketchUp 3D, try using your mouse shortcuts alongside the Camera Toolbar: 1. Middle Mouse Button (Scroll Wheel): Press and hold to Orbit automatically without selecting the tool from the menu. 2. Shift + Middle Mouse Button: Hold Shift while pressing the scroll wheel to instantly Pan across your screen.

By combining toolbar controls with mouse shortcuts, you will streamline your workflow and navigate complex 3D environments with confidence. Take some time to practice these essential camera tools today, and watch your modeling efficiency skyrocket!

Continue Reading | ความคิดเห็น

Streamlining CAD Workflows: Bill-Builder Walkthrough and SolidWorks 3D Integration

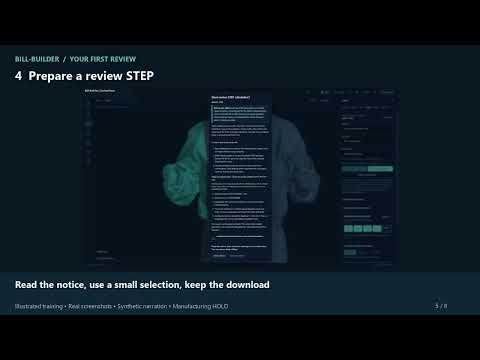
Designing complex engineering projects requires a smooth, stress-free workflow from concept to completion. If you are exploring the Bill-Builder environment for the first time, establishing a clear process is essential for maintaining model accuracy and design speed. In this guided walkthrough, we will explore how to navigate regions, verify cross-sections, and achieve a seamless handoff to your primary design software.

Navigating the Bill-Builder Environment

Starting out in Bill-Builder begins with a calm, methodical inspection of your model. Users can easily review specific regions, inspect cross-sections, and make necessary adjustments without disrupting the overall design hierarchy. The platform allows you to save your progress at any stage and reopen files effortlessly, ensuring that your data remains intact and secure throughout the design iteration process.

Taking time to verify sections early on prevents costly downstream errors and builds confidence in your digital assembly before transitioning to advanced modeling environments like SolidWorks 3D.

Executing the Handoff: STEP Files and Local Workflows

Once your structural layout is reviewed and finalized in Bill-Builder, the next critical step is transferring the project data into your main production workspace. Understanding how STEP files interact with local software setups is vital for a frictionless handoff.

By exporting standardized STEP files or leveraging direct local integration, engineers using SolidWorks 3D can effortlessly import components while preserving assembly structures and spatial relationships. This clean transfer eliminates manual remodeling, allowing team members to jump straight into detailed feature design, stress analysis, and manufacturing documentation.

Unlocking Peak Design Efficiency

A structured initial walkthrough combined with a reliable export pipeline transforms how teams manage CAD projects. By mastering the transition between layout tools and SolidWorks 3D, you reduce friction in your engineering pipeline, save valuable modeling time, and maintain complete accuracy from the first draft to the final build.

Continue Reading | ความคิดเห็น

Unlocking Parametric Hull Generation in Rhino 3D with Grasshopper

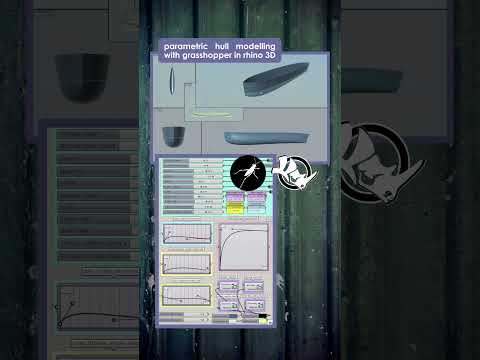
Designing complex boat or ship hulls traditionally required hours of manual curve tweaking and surface reconstruction. However, with the rise of computational design, tools like Grasshopper have transformed how marine architects and 3D designers approach complex geometry. By pairing visual programming with Rhino 3D, you can easily automate and refine parametric hull generation in a fraction of the time.

Understanding Parametric Hull Generation

Parametric hull generation involves using mathematical algorithms and flexible parameters—such as beam width, draft, overall length, and bow entry angle—to define a vessel's hull geometry. Instead of manually dragging individual control points, designers can simply adjust sliders in Grasshopper to instantly update the entire 3D model. This approach allows for rapid prototyping, real-time design variations, and faster hydrodynamics testing.

Why Grasshopper and Rhino 3D Are the Ultimate Pair

As an industry-standard CAD platform, Rhino 3D provides exceptional freeform surface modeling capabilities. When seamlessly integrated with Grasshopper—its built-in visual programming editor—designers gain complete algorithmic control over their surface geometry.

By using Grasshopper for parametric hull modeling, you can: - Iterate Rapidly: Explore dozens of hull variations instantly without recreating geometry from scratch. - Maintain Precision: Ensure exact mathematical control over cross-sectional curves, waterlines, and lofted surfaces. - Optimize Performance: Connect geometry directly to analysis plugins for hydrostatic and structural feedback.

Essential Workflow for Building a Parametric Hull

  1. Define Key Parameters: Establish numerical input sliders for dimensions like length overall (LOA), beam, and draft.
  2. Generate Base Curves: Create dynamic cross-section curves and stem profiles driven directly by your parameter inputs.
  3. Form the Surface skin: Apply lofting or surface-from-network components to generate a smooth, fair hull skin.
  4. Analyze and Refine: Finetune your sliders to optimize the hull's fairing lines and hydrodynamics properties.

Conclusion

Mastering computational design opens up incredible technical freedom. Whether you are creating sleek luxury yacht concepts or commercial vessel designs, leveraging Grasshopper within Rhino 3D will drastically streamline your workflow and elevate your digital modeling capabilities.

Continue Reading | ความคิดเห็น

From Concept to Reality: Transforming 2D Designs into 3D Structures with Civil 3D

Tuesday, November 3, 2026

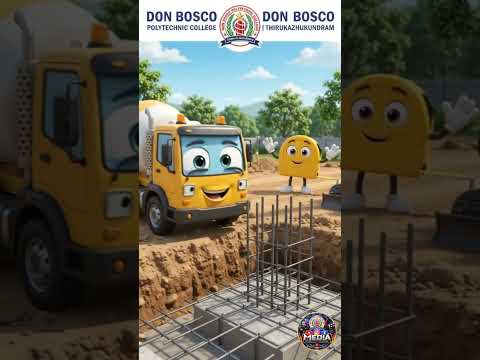
Have you ever wondered how a flat, two-dimensional blueprint transforms into a towering, modern structure? The journey from a simple CAD design to actual building construction is a masterclass in modern engineering, innovation, and digital precision. Today, advanced modeling technology makes it possible to visualize every beam, foundation, and terrain feature long before ground is ever broken.

The Blueprint Phase: Moving Beyond 2D Vectors

For decades, civil engineers relied strictly on 2D AutoCAD drawings to convey building plans. While effective, flat schematics often leave room for interpretation and spatial miscalculations on the construction site. By transitioning 2D concepts into detailed 3D digital environments, engineering teams can catch design flaws early, streamline cross-team collaboration, and present crystal-clear structural animations to stakeholders.

Unlocking Site Precision with Civil 3D

To turn complex architectural blueprints into real-world reality, modern civil engineers rely on powerful civil design and documentation tools. Utilizing Civil 3D allows engineers to map out site geometry, analyze surface terrain, and design essential supporting infrastructure with incredible accuracy. This intelligent, dynamic environment ensures that if a design modification occurs, associated elements automatically update, keeping the physical project vision aligned with the underlying data.

Furthermore, integrating Civil 3D workflows into the pre-construction phase bridges the gap between site development and building design. Engineers can simulate surface grading, model utility systems, and calculate earthwork volumes seamlessly, establishing a rock-solid foundation for the upcoming building.

From Digital Twin to Physical Reality

Once the 3D structural model and site animations are finalized, actual physical construction begins. Armed with precise spatial data, construction crews can execute site preparation, foundation pouring, and structural framing with far fewer errors and minimal project delays. What started as basic lines on a computer screen successfully evolves into a safe, functional, and aesthetically pleasing structure.

Understanding this transformation highlights the remarkable evolution of modern engineering—proving that digital precision is the true blueprint for our physical world.

Continue Reading | ความคิดเห็น

Master Spline Modeling in 3ds Max: A Complete ArchViz Guide

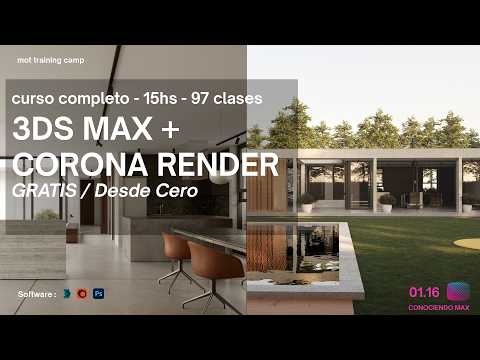
Are you ready to elevate your architectural visualization skills from scratch? Achieving photorealistic archviz projects requires a solid foundation in 3D modeling tools. Whether you are a complete beginner or an aspiring 3D artist looking to refine your workflow, 3ds Max remains the industry standard software for creating detailed, production-ready architectural models.

The Power of Splines and Lines in ArchViz

Before diving into complex lighting and texturing, every great 3D model starts with clean, precise geometry. In architectural modeling, lines and splines serve as the foundational blueprint. From drawing initial floor plans to defining custom wall profiles, crown moldings, and furniture frames, line work forms the backbone of accurate 3D structures. Mastering these vector-based controls allows you to build complex architectural shapes quickly while maintaining absolute precision.

Key Techniques for Working with Lines in 3ds Max

When creating complex architectural elements in 3ds Max, mastering splines and line tools is essential for an efficient workflow. Here are a few vital techniques every 3D artist should practice:

  • Extruding and Sweeping: Instantly transform 2D line profiles into 3D walls, cornices, or railings using powerful modifiers like Extrude, Sweep, and Bevel Profile.
  • Vertex Editing: Fine-tune corners and curves using Corner, Smooth, Bezier, and Bezier Corner vertex types for ultimate control over transitions.
  • Attaching and Boolean Operations: Combine multiple shapes or trim intersecting paths effortlessly to build intricate interior and exterior layouts without cluttering your scene hierarchy.

Bringing Geometry to Life with Corona Renderer

Once your base linework is properly structured, transitioning from 2D splines to 3D architectural volumes becomes seamless. Combining these precise linework techniques with Corona Renderer elevates your 3ds Max workflow even further. Corona's intuitive rendering engine allows you to apply realistic physical materials, set up natural sun and sky lighting, and generate photorealistic archviz renders effortlessly.

Start Building Your ArchViz Future Today

Learning 3D modeling doesn't have to be overwhelming. By breaking down complex projects into structured, step-by-step methods—starting with basic lines and splines—you can construct realistic architectural scenes with complete confidence. Practice these core linework fundamentals today and take your visualization projects to the next level!

Continue Reading | ความคิดเห็น

Popular Posts Today

 
Support : 3Dcadbrowser | Grabcad | 3Dcontentcentral | D | E | F | G
Copyright © 2028. Engineering 3DCad Appication - All Rights Reserved