Cad 3D Category

Showing posts with label ZBrush 3D. Show all posts

Unlock Creative Control: Mastering Tapering and Pinching in ZBrush 3D

Thursday, November 5, 2026
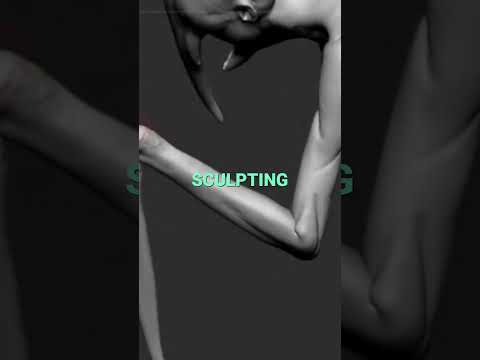
Whether you are a seasoned digital artist or just beginning your journey into character creation, refining forms and sharp details is key to crafting compelling models. In the world of ZBrush 3D, mastering control over your mesh can turn a basic sculpt into an extraordinary masterpiece. Two of the most versatile yet fundamental techniques in any artist's workflow are tapering and pinching.

The Power of Pinching: Crisp Edges and Fine Details

When working on organic sculpts or intricate hard-surface models, soft brushes can sometimes leave your mesh feeling spongy or ill-defined. This is where pinching becomes indispensable. By drawing geometry closer together along a line, pinching allows you to sharpen soft creases, define monster wrinkles, and crisp up razor-sharp edges on armor or creature features.

A subtle touch goes a long way. Just a small pinch here and there can instantly transform a flat, lifeless surface into a focal point rich with detail. Use it strategically along your mesh flow to accentuate facial features, muscle seams, and skin folds.

Silhouette Control: Mastering Tapering Techniques

While pinching refines micro-details, tapering gives you macro control over proportions and silhouette. Utilizing tapering deformers and brushes in ZBrush 3D enables artists to smoothly transition broad, heavy bases into elegant, pointed tips.

Tapering is essential for creature design. It allows you to build believable tentacles, curved horns, stylized hair, and menacing claws effortlessly. By dynamically scaling geometry along an axis, you ensure smooth, natural transitions that maintain visual weight and realistic flow throughout your character.

Combining Pinch and Taper for Dynamic Designs

The real magic happens when you combine both methods. Start by using tapering to establish the overarching silhouette and proportional rhythm of your sculpt. Once the overall silhouette is locked in, pass over the key areas with a pinch brush to tighten the edges, accentuate directional lines, and add structural definition.

By integrating these core techniques into your daily workflow, you will achieve cleaner topology, sharper forms, and a faster sculpting speed. Fire up ZBrush 3D today, start experimenting with tapering and pinching, and bring your digital creatures to the next level!

Continue Reading | ความคิดเห็น

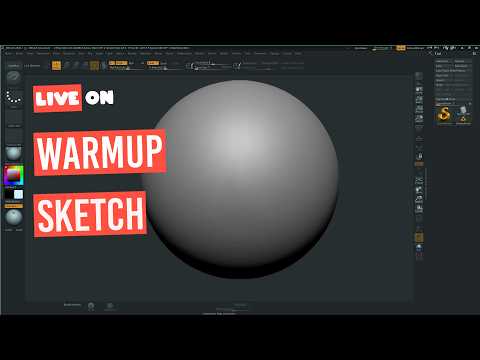
Mastering Quick Digital Sculpting: Creative Workflow Tips for ZBrush 3D

Saturday, October 24, 2026

In the world of digital art and character design, speed and flexibility are essential for bringing raw ideas to life. Digital sketching allows artists to rapidly explore forms, silhouettes, and creative concepts without getting bogged down in technical constraints. When it comes to organic sculpting and rapid concept development, ZBrush 3D stands out as the ultimate industry-standard software for digital artists worldwide.

Why Use ZBrush 3D for Rapid Concepting?

Unlike traditional 3D modeling applications that rely heavily on manual polygon placement, ZBrush 3D operates much like working with physical clay. This intuitive, artist-friendly approach makes it ideal for spontaneous creativity and quick sketch sessions. Features such as DynaMesh and Sculptris Pro allow creators to push, pull, and add geometry on the fly without worrying about underlying topology or mesh stretching.

Whether you are sketching a quick character bust, a creature concept, or a stylized prop, speed sculpting helps build artistic muscle memory. By treating your dynamic viewport like a digital sketchbook, you can focus entirely on primary shapes and proportions before committing to time-consuming micro-details.

Best Practices for Effective 3D Sketching Sessions

To maximize your efficiency during quick digital sculpting sessions, consider applying these essential techniques:

  • Start with Simple Block-outs: Utilize basic spheres, cylinders, or ZSpheres to establish primary shapes quickly before merging them into a single unified mesh.
  • Prioritize the Silhouette: Frequently check your model's silhouette from various angles to ensure your character or object has a clear and impactful visual gesture.
  • Delay High-Resolution Subdivisions: Keep your mesh resolution as low as possible for as long as possible. Focusing on primary and secondary forms early on ensures a stronger final sculpt.
  • Embrace Experimentation: Remember that sketch time is designed for freedom and exploration. Don't worry about clean edge loops or final renders during the conceptual stage.

Final Thoughts

Developing a regular habit of quick digital sketching is one of the most effective ways to elevate your overall 3D artwork. By harnessing the flexible sculpting toolset inside ZBrush 3D, you can translate rough ideas into stunning visual concepts in a fraction of the time. Grab your stylus, open up a fresh canvas, and start sculpting today!

Continue Reading | ความคิดเห็น

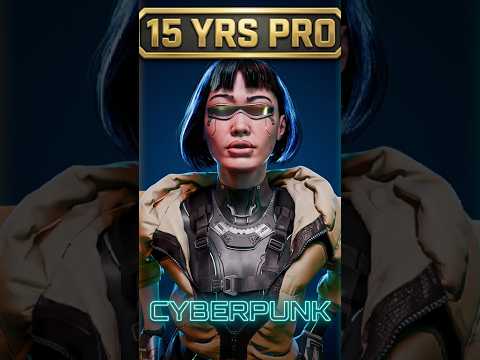
Unleashing Creativity with ZBrush 3D: A Showcase of My Latest Sculpts and Tips

Monday, September 21, 2026

Are you ready to dive into the mesmerizing world of digital sculpting? Whether you are a seasoned character designer or just beginning your journey in digital art, working with ZBrush 3D offers an unparalleled creative experience. Today, I am excited to share a showcase of my latest sculpts, along with a few essential tips to help you level up your digital sculpting workflow.

Bringing Characters to Life with ZBrush 3D

Creating detailed 3D models requires both artistic patience and the right set of tools. Over the past few months, I’ve been experimenting with dynamic forms, intricate textures, and detailed hard-surface elements. ZBrush 3D remains the industry-standard software for digital sculpting, allowing artists to translate raw imagination into high-poly, production-ready assets.

In my latest video, I walk you through several of my recent sculpted pieces. From initial block-outs using basic primitives to refining fine pore details and anatomical structures, each model represents a unique set of challenges and learning moments. Observing how light hits sculpted surfaces can dramatically change the impact of your artwork, making solid form and proportion crucial right from step one.

Quick Tips for a Better Sculpting Workflow

If you want to enhance your sculpting speed and quality, keep these core practices in mind:

  • Master the Blocking Phase: Never rush into high-subdivision details before your base mesh proportions are rock solid.
  • Leverage Custom Brushes: Build or collect custom brushes for repeated details like skin textures, fabric seams, and hair strands.
  • Utilize Dynamic Topology: Keep your topology flexible early in the process so you can sculpt freely without worrying about polygon distribution.

Join the Community and Support the Channel

Building a strong artistic foundation takes practice, but sharing the journey makes it far more rewarding. If you enjoyed taking a peek at these sculpts and found the insights helpful, be sure to like the video and subscribe to the channel for more tips and tricks. Also, don't forget to check out our brand-new Inglorious Merch line to gear up and support our growing creative community!

Continue Reading | ความคิดเห็น

Popular Posts Today

 
Support : 3Dcadbrowser | Grabcad | 3Dcontentcentral | D | E | F | G
Copyright © 2028. Engineering 3DCad Appication - All Rights Reserved