Cad 3D Category

Showing posts with label Blender Tutorial. Show all posts

Master 3D Modeling: Creating Your Own Among Us Crewmate in Blender

Sunday, October 25, 2026
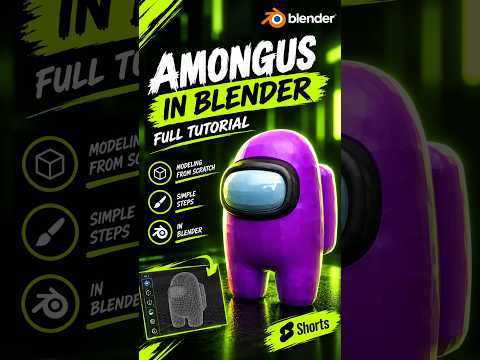
Among Us captured the world with its simple yet iconic designs and tense social gameplay. While we are all used to seeing the 2D sprites running around the Skeld, there is something incredibly satisfying about seeing those "sus" characters in a three-dimensional space. If you have ever wanted to transition from a player to a creator, learning the fundamentals of 3D modeling is the perfect place to start.

Why Start with an Among Us Character?

For beginners, the Among Us crewmate is one of the best subjects to practice with. Its design is comprised of simple, clean geometric shapes—essentially a rounded "bean" with a visor and a backpack. This simplicity allows you to focus on the core workflow of 3D modeling without getting overwhelmed by complex anatomy or intricate textures. By using Blender, a powerful and free open-source tool, you can go from a blank screen to a finished character in just one sitting.

The Basic Workflow in Blender

To begin, you typically start with a basic primitive, such as a cube or a UV sphere. By applying a Subdivision Surface modifier, you can transform a blocky shape into the smooth, pill-like body of the crewmate. The legs are created by extruding the bottom faces of the body, ensuring that the silhouette remains consistent with the original game art.

The visor is perhaps the most important detail. By selecting the front faces of your model and using the "Inset" and "Extrude" tools, you can create the recessed look of the glass. Adding a bevel to these edges helps catch the light, giving the model a more professional, polished feel.

Adding Color and Personality

Once the geometry is finished, the real fun begins with materials. Among Us characters are known for their vibrant, flat colors. In Blender’s shading tab, you can assign bright reds, cyans, or purples to the body while giving the visor a light blue, reflective material. Don't forget the oxygen tank on the back—a simple stretched cube with rounded corners is all you need to complete the iconic look.

Take the Next Step

Creating a crewmate is a fantastic way to build your confidence. Once you master the basics of 3D modeling through this project, you can start experimenting with custom hats, different skins, or even basic animations. The jump from 2D to 3D might seem intimidating at first, but with a character this simple and a tool like Blender, the possibilities are endless. Grab your mouse, fire up your software, and start creating!

Continue Reading | ความคิดเห็น

How to Create a Magical 3D Environment in Blender: A Beginner's Step-by-Step Guide

Sunday, October 18, 2026

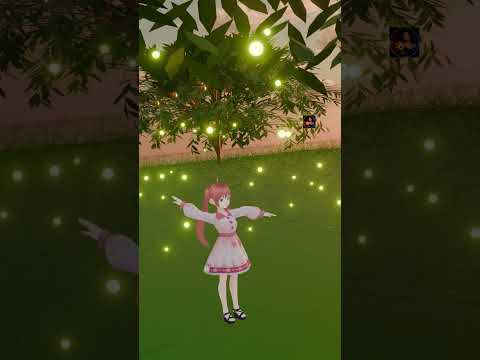
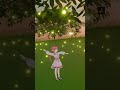
Have you ever wanted to bring your imagination to life through digital art? Creating a magical, atmosphere-rich 3D environment might seem daunting at first, but with Blender, it is easier and more accessible than ever. Whether you are an absolute beginner or looking to sharpen your digital art skills, learning step-by-step can help you master 3D animation without feeling overwhelmed.

In this guide, we will explore how you can create an enchanting, glowing firefly scene from scratch using Blender's powerful set of free tools.

Setting Up Your Magical Scene in Blender

To build a stunning 3D environment, you need to start with the fundamentals of composition and lighting. Begin by modeling simple background elements such as trees, grass, or stylized terrain to give your scene a solid structural base.

Lighting plays a crucial role in establishing mood. For a night scene featuring fireflies, you will want a dark, moody ambient light contrasted by warm, glowing focal points. Blender's render engines make it easy to tweak materials, shadows, and atmospheric fog, giving your digital world a truly immersive, cinematic feel.

Adding Magic with Glowing Fireflies

The real magic happens when you introduce the fireflies. Instead of placing each glowing orb manually, you can utilize Blender's built-in particle system. By creating a simple sphere with an Emission shader and distributing it across your scene, you can instantly transform a basic landscape into a whimsical fantasy world.

Adjusting the particle settings and adding subtle force fields will give your fireflies realistic, gentle floating movements that bring the entire animation to life.

Start Your 3D Animation Journey Today

Mastering Blender takes practice, but breaking down complex tools into manageable steps makes the process fun and rewarding. Designing your very first 3D environment is just the beginning of what you can accomplish in 3D animation. Dive in, experiment with lights and shaders, and start turning your creative ideas into breathtaking visual realities!

Continue Reading | ความคิดเห็น

Master Your Workflow: How to Speed Up 3D Modeling Using Blender’s Mirror Modifier

Thursday, October 15, 2026

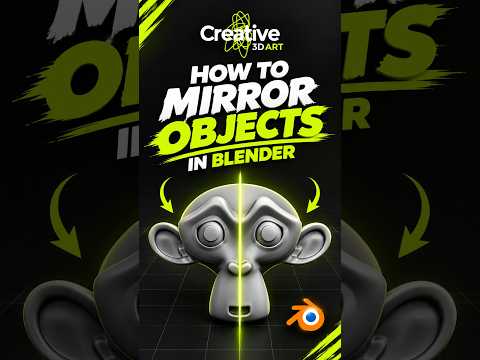
Efficiency is king in the world of digital art. If you have been sculpting or building meshes by manually editing both sides of a symmetrical object, you are essentially working twice as hard for the same result. It is time to revolutionize your 3D modeling workflow and stop wasting time on redundant tasks.

The Power of Symmetry

In character design, vehicle creation, or hard-surface modeling, symmetry is almost always a requirement. Instead of trying to replicate every vertex movement perfectly on both the left and right sides, Blender offers a powerful non-destructive tool called the Mirror Modifier. This allows you to focus all your creative energy on just one half of your creation while the software automatically generates the other side in real-time.

How to Set Up the Mirror Modifier

To get started, first ensure your object's origin point is correctly placed—usually at the center of your scene or the center of symmetry. Once your mesh is ready, navigate to the "Modifier Properties" tab (the blue wrench icon) and select "Mirror" from the Generate column.

By default, the modifier usually mirrors across the X-axis. You will instantly see a mirrored version of your mesh on the opposite side. Any loop cut you add or vertex you move on the "real" side will be perfectly reflected on the "mirror" side, ensuring your 3D modeling remains perfectly symmetrical.

Pro Tips for Seamless Results

One of the most important settings within this tool is the "Clipping" checkbox. When Clipping is enabled, vertices located at the center line will snap together and stay merged. This prevents your model from accidentally splitting apart or creating "holes" in the middle of your mesh. Mastering this small detail is a significant step toward achieving professional 3D modeling standards.

Conclusion

Don't let manual repetition slow down your creative process. By integrating the Mirror Modifier into your daily routine, you can ensure perfect symmetry and cut your production time in half. Whether you are a beginner or an intermediate artist, optimizing your workflow is the best way to focus more on the art and less on the technical grind. Give it a try on your next project and see how much faster you can bring your ideas to life!

Continue Reading | ความคิดเห็น

Elevate Your 3D Environment: How to Model Custom Chandeliers and Tavern Roofs

Wednesday, October 7, 2026

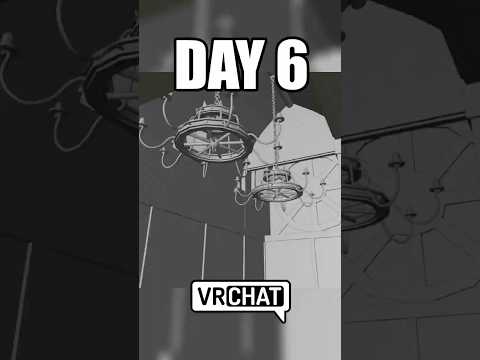
Creating an immersive fantasy setting requires careful attention to detail, lighting, and structural architecture. In Day 6 of our Guildhall Tavern series, we take a major step forward by constructing a custom tavern roof and crafting intricate chandeliers to illuminate the space. Whether you are building worlds for game engines or designing a custom VRChat world, adding unique decorative elements is key to making your 3D environment feel alive and lived-in.

Crafting a Custom Tavern Roof

A believable fantasy tavern needs more than just flat ceilings; it requires exposed wooden beams, arched rafters, and textured roofing to convey warmth and history. Using Blender, we start by blocking out the main roof architecture to fit the tavern's unique layout.

By focusing on modular modeling techniques, you can easily snap timber beams into place while keeping your geometry clean. Adding subtle variations to the wood textures and beam alignments gives the roof an authentic, handcrafted look that draws the viewer’s eye upward.

Modeling Detailed Chandeliers for Atmospheric Lighting

Lighting plays a crucial role in setting the mood of any virtual space. Flat ambient light can flatten your geometry, whereas warm, localized light sources create depth, contrast, and cozy shadows.

In this phase of the build, we design detailed medieval chandeliers from scratch: - Base Geometry: Crafting forged iron hoops and decorative accents using curves and extrusions. - Candle Details: Modeling realistic wax drips and emissive flames to act as warm key light sources. - Chain Links: Utilizing array modifiers to drape heavy iron chains effortlessly from the newly built roof beams.

These chandeliers serve a dual purpose: they act as striking visual centerpieces and establish an inviting lighting scheme for your interior.

Bringing Your Scene to Life

Optimizing assets for real-time applications like VRChat requires balancing visual complexity with performance. By keeping polycounts reasonable and efficiently baking lightmaps, your finished 3D environment will remain performant without sacrificing visual fidelity.

Whether your goal is to host virtual gatherings or build an interactive game level, mastering interior lighting and architectural details will elevate the overall quality of every 3D environment you create. Stay tuned for the next phase of the Guildhall Tavern build as we continue adding prop details and rich textures!

Continue Reading | ความคิดเห็น

Master Rock Modeling: How to Build Your Own 3D Asset Library in Blender

Tuesday, October 6, 2026

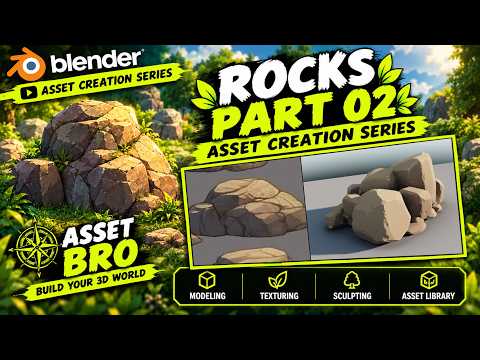
Creating immersive virtual environments requires close attention to detail, especially when it comes to natural elements like rocks, cliffs, and boulders. Whether you are designing a video game level, an architectural visualization, or a cinematic animation, learning how to create a detailed 3D asset from scratch can transform your creative workflow.

In this guide inspired by the Asset Creation Series, we delve deeper into realistic rock modeling techniques in Blender to help you build your ultimate digital world.

Why Realistic Rocks Matter in 3D Environments

Rocks are the structural backbone of outdoor digital landscapes. They break up flat terrain, add organic texture, and establish scale within a scene. However, using repetitive or low-quality models can instantly ruin the immersion. By mastering custom rock creation in Blender, you gain total creative freedom over shape, surface deformation, and optimization, ensuring your environment scenes look ground-level realistic.

Workflow: From Rough Mesh to Finished Asset

Building realistic environment props in Blender involves a seamless combination of blockout, sculpting, and texturing techniques:

  1. Base Blockout: Start with simple low-poly geometry (like a subdivided cube or icosphere) to define the silhouette and overall weight of the rock.
  2. Sculpting Micro-Details: Utilize Blender’s sculpting tools—such as the Flatten, Scrape, and Crease brushes—to introduce natural cracks, sharp edges, and weathered surface erosion.
  3. Procedural Texturing: Apply procedural noise and color ramps to generate organic stone textures, moss patches, and realistic roughness variations.
  4. Optimization: Retopologize or use decimation techniques to convert your high-detail model into an optimized 3D asset suitable for real-time game engines like Unreal Engine or Unity.

Expand Your Reusable 3D Library

Efficiency is crucial for modern digital artists. Instead of recreating environment props from scratch for every new project, saving each unique mesh into a personal 3D asset library streamlines your future workflow. Blender’s Asset Browser allows you to easily drag and drop your custom rocks directly into new viewport scenes with preset materials attached.

Final Thoughts

Mastering rock modeling in Blender is an essential milestone for any artist looking to craft high-quality environments. By experimenting with diverse sculpt brushes, erosion patterns, and material setups, you will build a versatile library of props ready to bring any virtual world to life.

Continue Reading | ความคิดเห็น

Unleash Your Creativity: A Comprehensive Guide to Our New Blender 3D Tutorial

Thursday, October 1, 2026

The world of digital art is expanding faster than ever, and at the heart of this revolution is Blender 3D. Whether you are an aspiring game developer, a hobbyist animator, or a professional designer, mastering this open-source powerhouse is one of the most valuable skills you can acquire in today’s creative economy. We are thrilled to announce that our latest comprehensive tutorial is officially out, designed to take your skills to the next level.

Why Choose Blender 3D for Your Projects?

Blender 3D has evolved from a niche tool into a world-class suite capable of handling every stage of the 3D pipeline. From initial block-outs and intricate sculpting to complex rigging and cinematic rendering, it offers a versatility that few other programs can match. Our new tutorial focuses on the core pillars of the software: modeling, animation, and real-time interaction. By understanding these fundamentals, you can bridge the gap between a simple idea and a fully realized digital masterpiece.

What This Tutorial Covers

In this latest release, we dive deep into the workflow required to create high-quality assets. We begin with the essentials of 3D modeling, teaching you how to maintain clean topology and efficient workflows. We then transition into the world of animation, showing you how to breathe life into your static meshes using Blender’s robust keyframing and rigging tools.

For those interested in interactive media, we also touch upon the principles used in the Blender game engine environment. Understanding how models behave in a real-time setting is crucial for anyone looking to enter the gaming industry. We provide step-by-step instructions to ensure that even beginners can follow along while still offering "pro-tips" for seasoned veterans.

Elevate Your Workflow Today

The journey to becoming a proficient 3D artist is a marathon, not a sprint. However, having the right guidance can significantly shorten the learning curve. Our tutorial is structured to be "all killer, no filler," focusing on the techniques that professional artists use every day.

By the end of this guide, you will have a solid grasp of how to utilize Blender 3D to create, animate, and export your work for any platform. Don't let technical hurdles stand in the way of your vision. Head over to our channel, watch the full tutorial, and start building your own digital worlds today!

Continue Reading | ความคิดเห็น

Popular Posts Today

 
Support : 3Dcadbrowser | Grabcad | 3Dcontentcentral | D | E | F | G
Copyright © 2028. Engineering 3DCad Appication - All Rights Reserved