
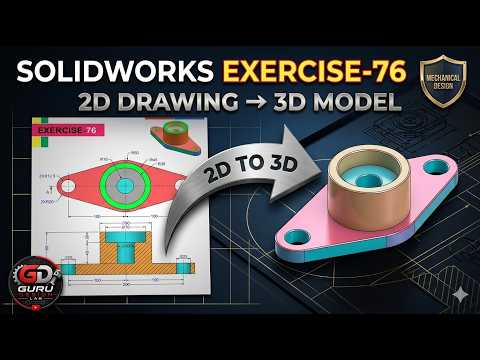
In the world of mechanical engineering and industrial design, the ability to interpret a flat, two-dimensional blueprint and transform it into a functional digital prototype is a vital skill. Today, we are diving deep into Exercise 76 from Guru Design LAB, where we explore how to harness the power of SolidWorks 3D to create complex mechanical parts with precision and efficiency.
The Bridge Between 2D Sketches and 3D Reality
The transition from a 2D drawing to a 3D model is where the magic happens. For many beginners, looking at a technical drawing filled with dimensions, hidden lines, and center marks can be intimidating. Exercise 76 simplifies this process. By breaking down the part into its fundamental geometric shapes, you can plan your modeling strategy before you even place your first sketch relation.
In this tutorial, Guru walks you through the essential workflow of identifying the primary plane, establishing the base feature, and layered additions. Using SolidWorks 3D allows for a parametric approach, meaning any change you make to your initial 2D sketch will automatically update your final model, ensuring accuracy throughout the design cycle.
Step-by-Step Modeling Strategy
The process begins with a robust base sketch. In Exercise 76, we focus on utilizing the Extruded Boss/Base feature to give our 2D shapes volume. Key highlights of this session include:
- Sketching with Constraints: Learning how to use relations like "Coincident" and "Tangent" to keep your model fully defined.
- Feature Application: Moving beyond simple extrusions to include cuts, holes, and fillets that define the part’s mechanical utility.
- Refining the Geometry: Using tools like the Hole Wizard to ensure that the mechanical specifications of the part meet industry standards.
Why Structured Practice Matters
Consistency is the secret to becoming a proficient designer. By following structured tutorials like this one, you learn more than just which buttons to click; you learn the logic behind professional part design. Mastering SolidWorks 3D through these exercises ensures that you can handle real-world engineering challenges, from simple brackets to complex machinery components.
Whether you are a student looking to sharpen your skills or a professional seeking a quick refresher, Exercise 76 provides a comprehensive look at the modern CAD workflow. Remember, every complex machine started as a simple sketch—it’s time to bring your designs to life!
