
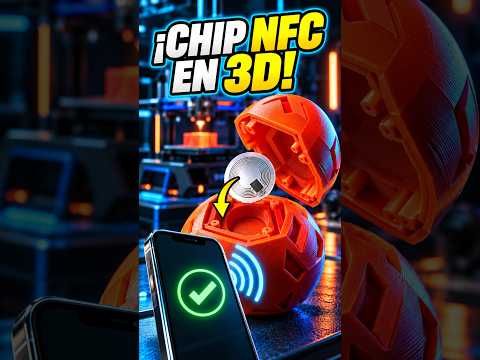
In the rapidly evolving world of 3D engineering, the ability to create "smart" objects is a total game-changer. Imagine a 3D-printed tool that automatically opens its user manual on your phone when tapped, or a custom-designed figurine that launches a specific game. By embedding NFC (Near Field Communication) or RFID tags directly into your prints, you can bridge the gap between the physical and digital worlds.
Why Embed Chips in Your Prints?
Integrating electronic components into a print isn’t just a gimmick; it is a practical application of functional design. Whether you are using an Anycubic Kobra or an industrial-grade machine, adding a chip allows for seamless asset tracking, automated home triggers, or even secure authentication. Unlike sticking a label on the outside, embedding the chip makes it tamper-proof, aesthetic, and protected from the elements.
The Design Phase: Creating the Cavity
The secret to a successful embed lies in your CAD software. This technique is a cornerstone of modern 3D engineering, allowing designers to bridge the gap between physical hardware and digital software. You must design a small internal void or "pocket" that is slightly larger than your NFC sticker or RFID glass tag.
A common best practice is to leave a 0.2mm to 0.4mm clearance around the chip to ensure it fits snugly without interfering with the printer nozzle. Make sure the top of the cavity is located at a layer height that allows for easy access during the print process.
The Printing Process: The "Pause at Height" Trick
To get the chip inside, you don’t need a specialized printer. Most slicers, like Cura or PrusaSlicer, allow you to insert a "Pause at Height" or "Change Filament" command (M600 or M0) at the specific layer where the cavity is still open.
- Start the print: Let the base and the walls of the cavity form.
- Pause: The printer will move the nozzle away, giving you a clear workspace.
- Insert the tag: Drop the NFC/RFID chip into the slot. If it’s a lightweight sticker, a tiny drop of glue can prevent it from vibrating or sticking to the nozzle in the next step.
- Resume: The printer will seal the chip inside by printing the top layers directly over it.
Final Thoughts
By mastering this blend of electronics and fabrication, you can take your 3D engineering projects to the next level. Whether you’re organizing your workshop with smart labels or developing interactive prototypes, embedding chips adds a layer of professional functionality that transforms a simple plastic part into a sophisticated smart device. Just remember to test your chip’s signal through the plastic before finalizing your design!
