
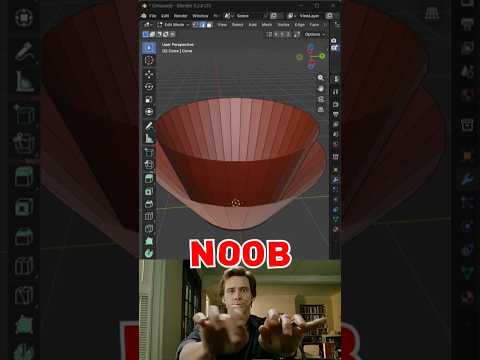
Connecting faces or filling gaps in Blender is one of the most common tasks every 3D artist encounters. While beginners often resort to tedious, manual face creation, professionals use fast and efficient workflow tricks. Mastering tools like Bridge Edge Loops allows you to clean up complex 3D geometry in seconds rather than minutes.
Whether you are building hard-surface assets or organic character models, learning how to bridge faces efficiently will transform your workflow from a Blender beginner into a seasoned pro.
The Beginner Trap vs. The Pro Approach
When starting out, most beginners select individual edges and press the F key repeatedly to build face by face. While this method works for simple flat shapes, it quickly becomes a nightmare when working with curved surfaces, hollow structures, or intricate meshes.
PRO artists, on the other hand, rely on the Bridge Edge Loops feature. By simply selecting two opposite edge loops or face regions and calling the tool, Blender automatically generates clean connecting quads between the selection. This single shortcut dramatically reduces modeling time and prevents topological errors.
Unlocking Secret Bridge Options
The real magic happens right after you execute the bridge tool. By opening the Operator Panel in the bottom-left corner of the viewport, you unlock several hidden controls:
- Number of Cuts: Instead of a flat bridge, increase the cut count to add automatic subdivisions across the newly created section.
- Interpolation & Profile Factor: Adjust these parameters to turn straight bridges into smoothly curved arches, pipes, or organic forms without manual sculpting.
- Twist Offset: If your generated faces look crossed or inverted, adjusting the twist offset instantly fixes misaligned 3D geometry.
Elevate Your Modeling Workflow
Understanding how to manipulate and connect mesh elements efficiently is fundamental to high-level 3D design. By moving away from manual face creation and leveraging Blender's powerful bridging capabilities, you ensure clean, subdivision-ready 3D geometry that renders beautifully and remains easy to edit.
Give these quick bridge secrets a try in your next Blender project, and watch your 3D modeling speed double instantly!
