
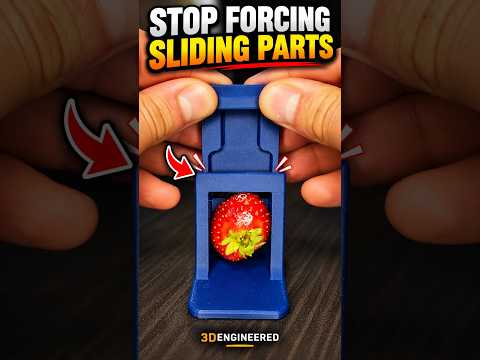
Have you ever assembled a freshly printed model with moving mechanisms, only to find the sliding components stubbornly stuck? Your first instinct might be to apply brute force and push harder. However, forcing jammed 3D printed components almost always leads to snapped prints, layer separation, or friction-welding that ruins your project.
If your mechanical components require extreme effort to move, they aren't just tight—they are actively binding. Creating smooth linear movement is one of the most rewarding aspects of 3D design, but it requires a solid understanding of why sliding mechanisms jam and how to fix the issue at the CAD stage.
Why Sliding Parts Mechanism Jam
When two 3D printed surfaces slide against one another, microscopic layer lines act like tiny teeth catching on each other. If the guide rail or channel isn't engineered with correct proportions, applying forward force causes the slider to tilt slightly. This triggers mechanical binding, where pushing harder actually increases side-load friction and locks the mechanism tighter.
Forcing these parts together generates intense localized heat. With common thermoplastics like PLA or PETG, this thermal friction can soften the material, permanently welding the two surfaces together.
Incorporating Proper Tolerances
The key to seamless motion lies in building proper clearances directly into your 3D design workflow. You cannot rely on exact, nominal dimensions when modeling interconnecting parts for additive manufacturing.
- Clearance Gaps: Always leave a 0.15mm to 0.3mm clearance gap between sliding surfaces, depending on your printer's calibration and accuracy.
- Reduce Surface Contact: Avoid large flat-on-flat contact areas. Instead, use raised guide ribs, narrow tracking rails, or small contact points to drastically reduce surface friction.
- Aspect Ratio: Ensure the guided length of the sliding part is long enough relative to its width to prevent it from twisting off-axis during movement.
Design Tweaks for Flawless Print Quality
Before sending your file to the slicer, make a few quick geometric adjustments. Adding small chamfers or fillets to leading edges stops sharp layer lines from catching on adjacent walls. Additionally, remember to compensate for printer artifacts like "elephant's foot" on the initial layer, which can instantly jam tight-tolerance sliding mechanisms.
By shifting your approach from brute force to smart CAD techniques, you save time, material, and frustration. Continually refining your 3D design skills ensures your functional, moving prints perform smoothly right off the print bed.
